Workshops
Here are some notes for members attending our future workshops:
Casting – great fun for all participants
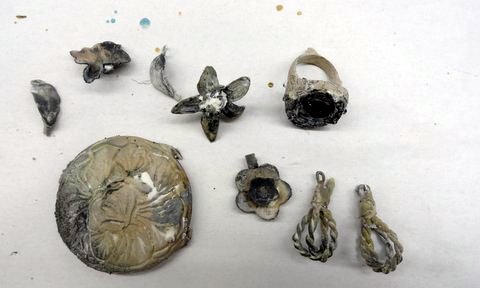
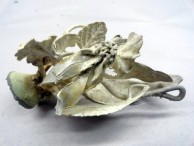
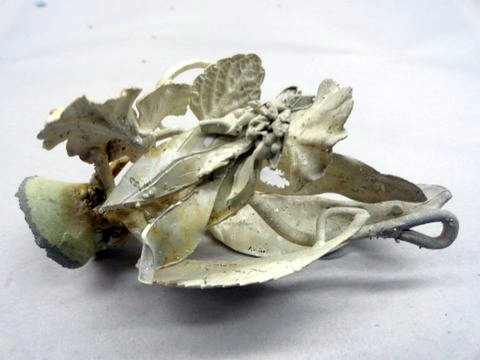
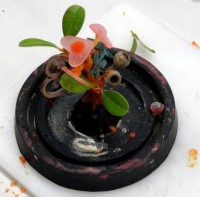
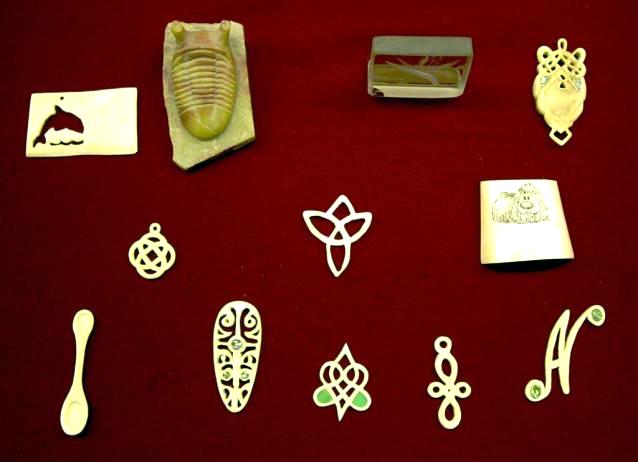
Casting workshops are routinely organised on weekends in the colder months, two to four times a year. The participants can be creative by selecting models from nature or making their own models from wax (instead of simply buying industrial models). The main idea of using casting techniques is “texture, texture, texture”. Even fine details, like the hairs of a Geranium leave or the stamen of an orchid, will “survive” the casting process, if done properly. Raised, indented or cut out surfaces make castings genuinely unique. The resulting silver or gold jewellery, e.g. rings, brooches, pendants, pieces for a bracelet or a larger metal object for a competition, often reflect the artistic prowess of the participant. Once properly cleaned and polished, the casts are real sparkling treasures. The casts can be further enhanced later on, either by combining several casts, or adding facetted stones or cabochons, or using enamelling techniques.
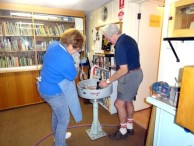
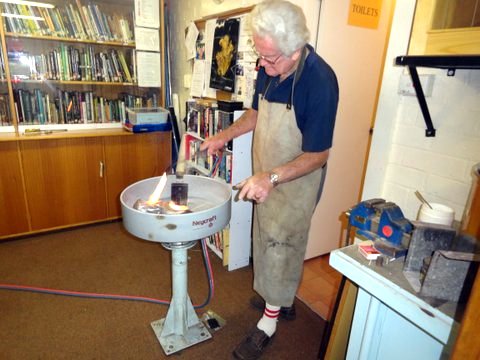
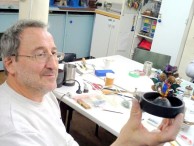
During a casting workshop, discipline of participants is crucial, be it bringing in required tools, working safely with hot tools, avoiding spill accidents, or being punctual for the important parts. Participants will be asked to volunteer for casting tasks, e.g. helping pouring the investment, marking and moving pots, taking the pots from the kiln to the centrifuge, etc. Without this help, the casting workshop cannot be successful, as the instructor cannot do everything.
Every casting workshop will be announced well ahead of time in Lapis and a participants’ sheet will be displayed on the board in the cutting room. If you have any questions about casting, call the instructor under the number on that sheet.
Please find the very detailed “Casting Workshop Procedure” in the Member’s page.
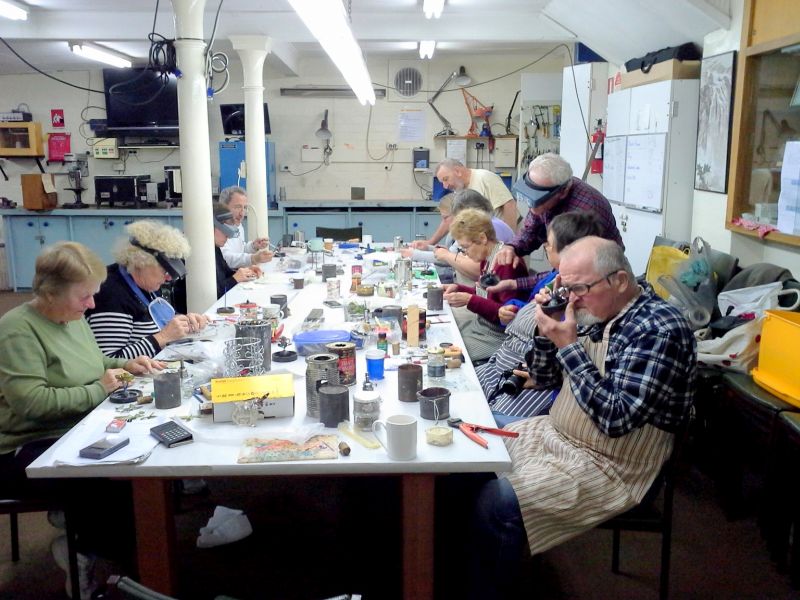
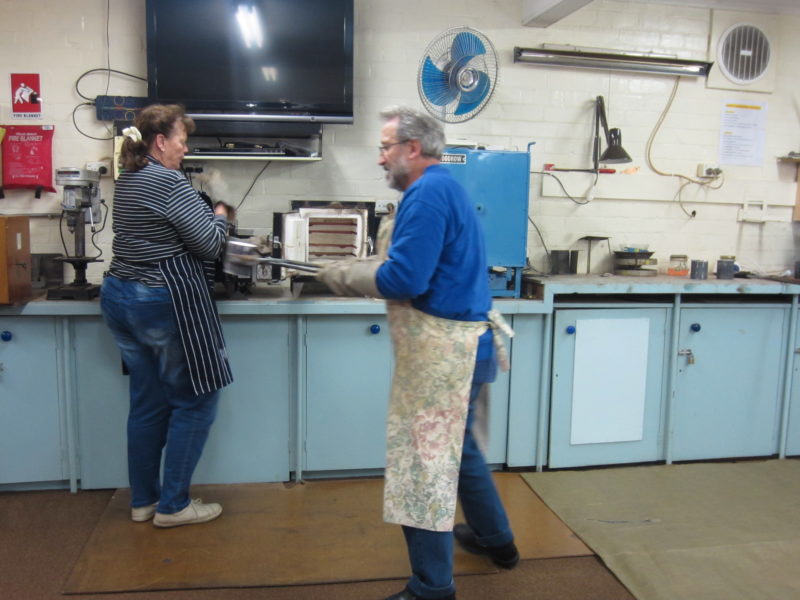
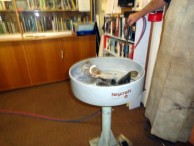
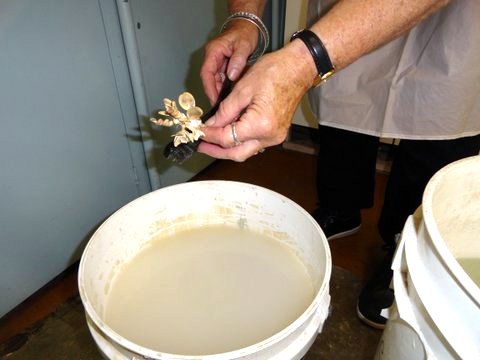
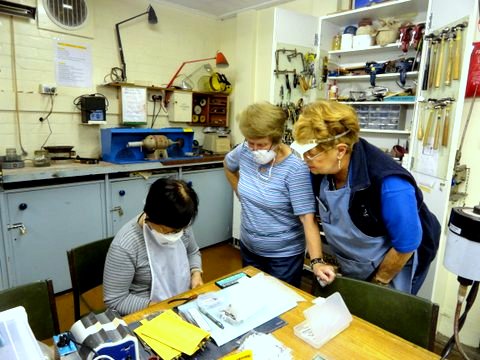
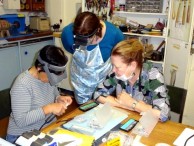
The photos below this article show either working steps during a casting weekend, wax trees and models, or completed castings.
-
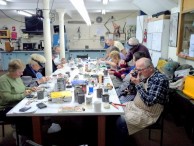
- Class preparing models
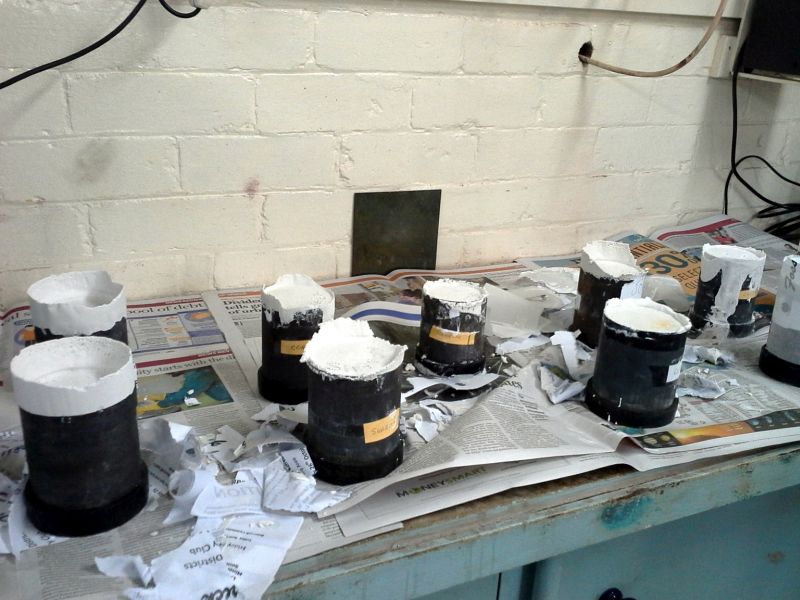
-
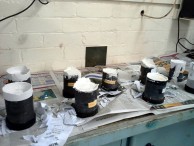
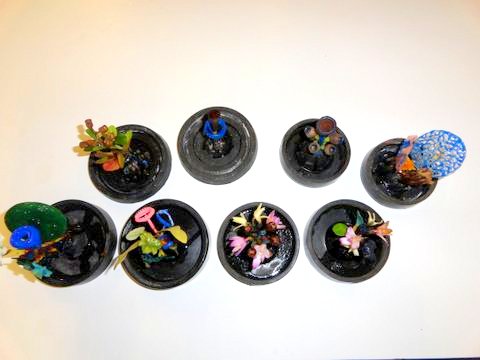
- Pots setting overnight
-

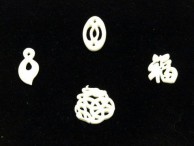
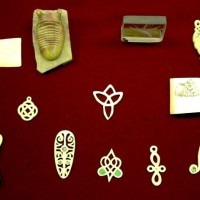
- Wax models for pendants

-
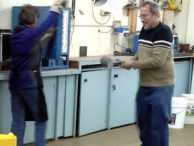
- Removing flask from kiln
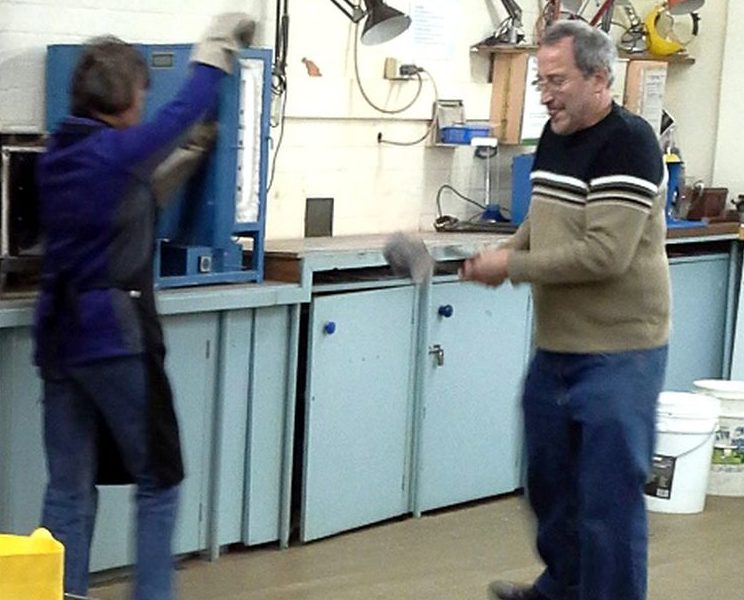
-
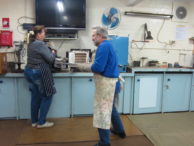
- Taking the pots from the kiln
-
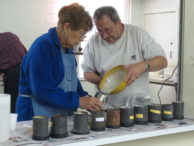
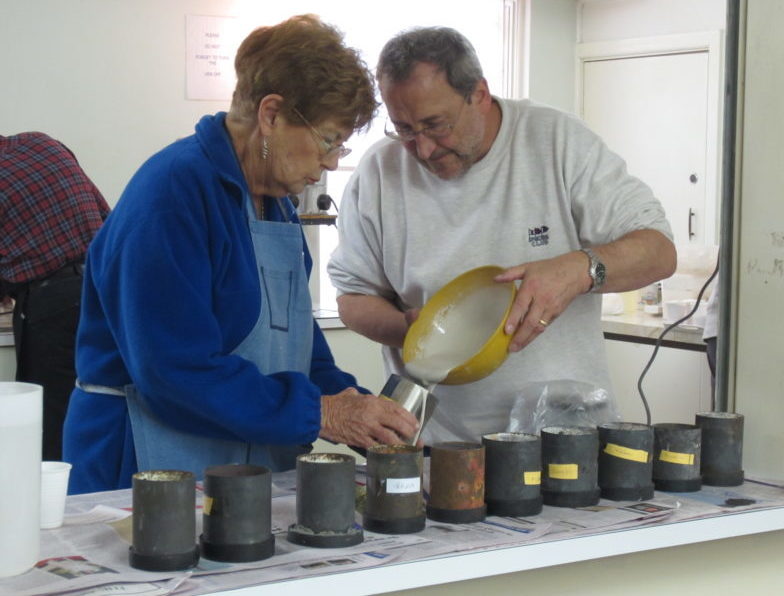
- Pouring the investment
-
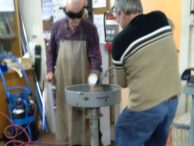
- Placing flask into centrifuge
-
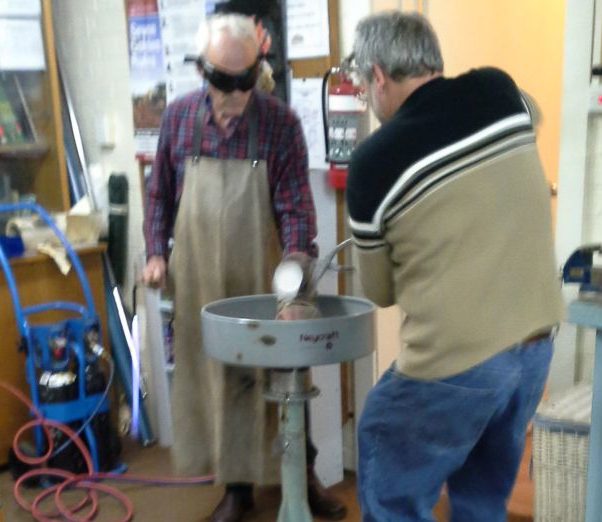
- Centrifuge processing

-

- Centrifuge processing
-
- Centrifuge processing

-

- Cleaning the model
-
- Finished items
-

- Finished items
-
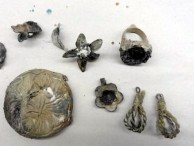
- Finished items
-
- Finished items
-
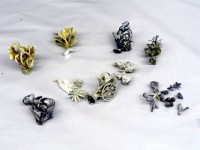
- Silver Castings

-
- Bevs colourful tree of earrings and bracelet

-
- Richards completed tree

-
-
Enamelling Workshop
- Costs: Beginners using Club Enamels – $25.00
- Experienced Enamellers using their own Enamels – $15.00
- Equipment for beginners – while you will be working on copper shapes, you need to bring along the following items.
- Towel
- Fine tweezers
- Fine paint brush
- Flat Bladed knife
- Elastic bands
- Disposable gloves
- Notebook & pen
Must wear closed in shoes. A face mask and a fork are provided
Equipment for More experienced Enamellers – if you wish to work on silver it is suggest that you purchase 0.7mm piece of FINE silver. It must be fine silver otherwise you will have problems with fire scale. Cloisonné wire 0.8mm x 0.15mm (this usually comes in packets of 1 metre from A & E Metals.
- All the above bits
- a pair of small sharp scissors to cut the cloisonné wire
- Very fine paint brushes
- Mandrels to help make circles and other shapes
- Fine pliers
- A plastic screw top jar X 2
- Some very small craft containers
- Head visor
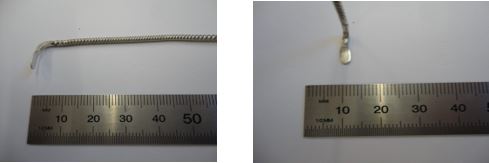
- A small tool to scoop enamel approx.20cm long (see pictures)
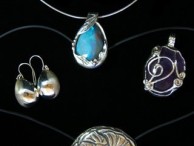
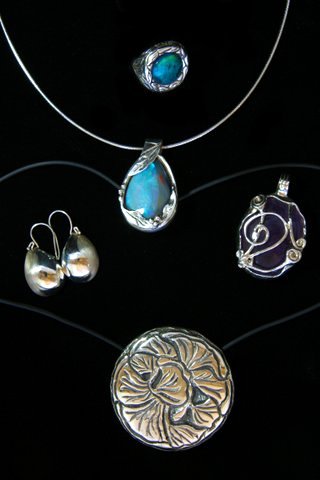
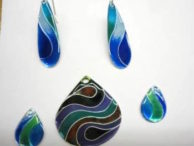
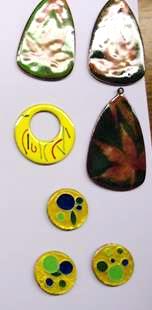
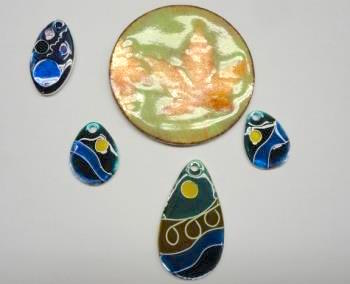
 Finished Items
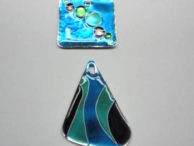
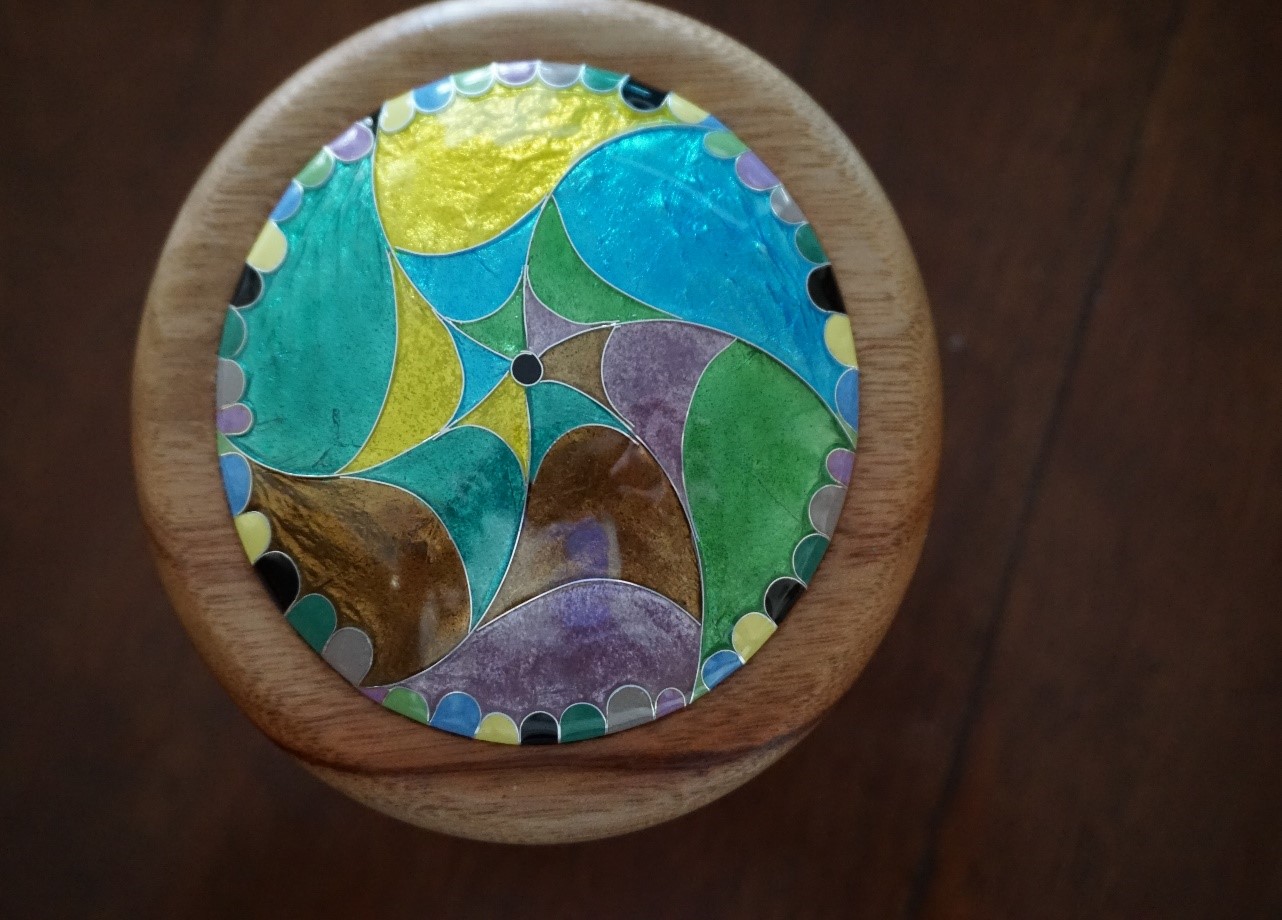
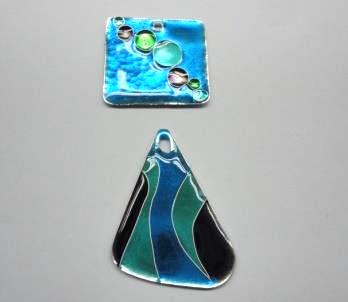
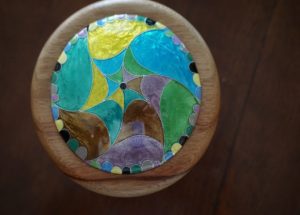 An Enamelled Trinket Box – done with cloisonné and silver foil.
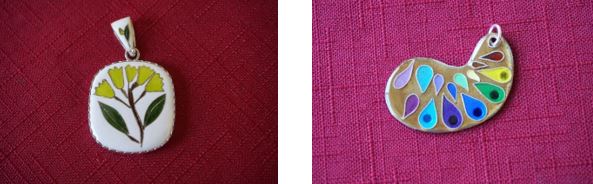 More Cloisonné Work
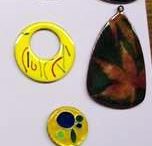
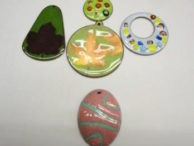
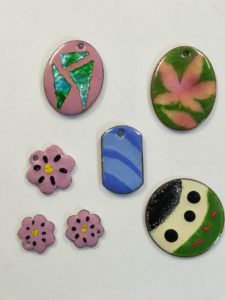 Basic Enamelled Designs on Copper
More Enamelling Photos
-
-
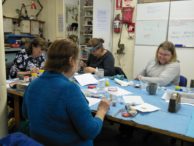
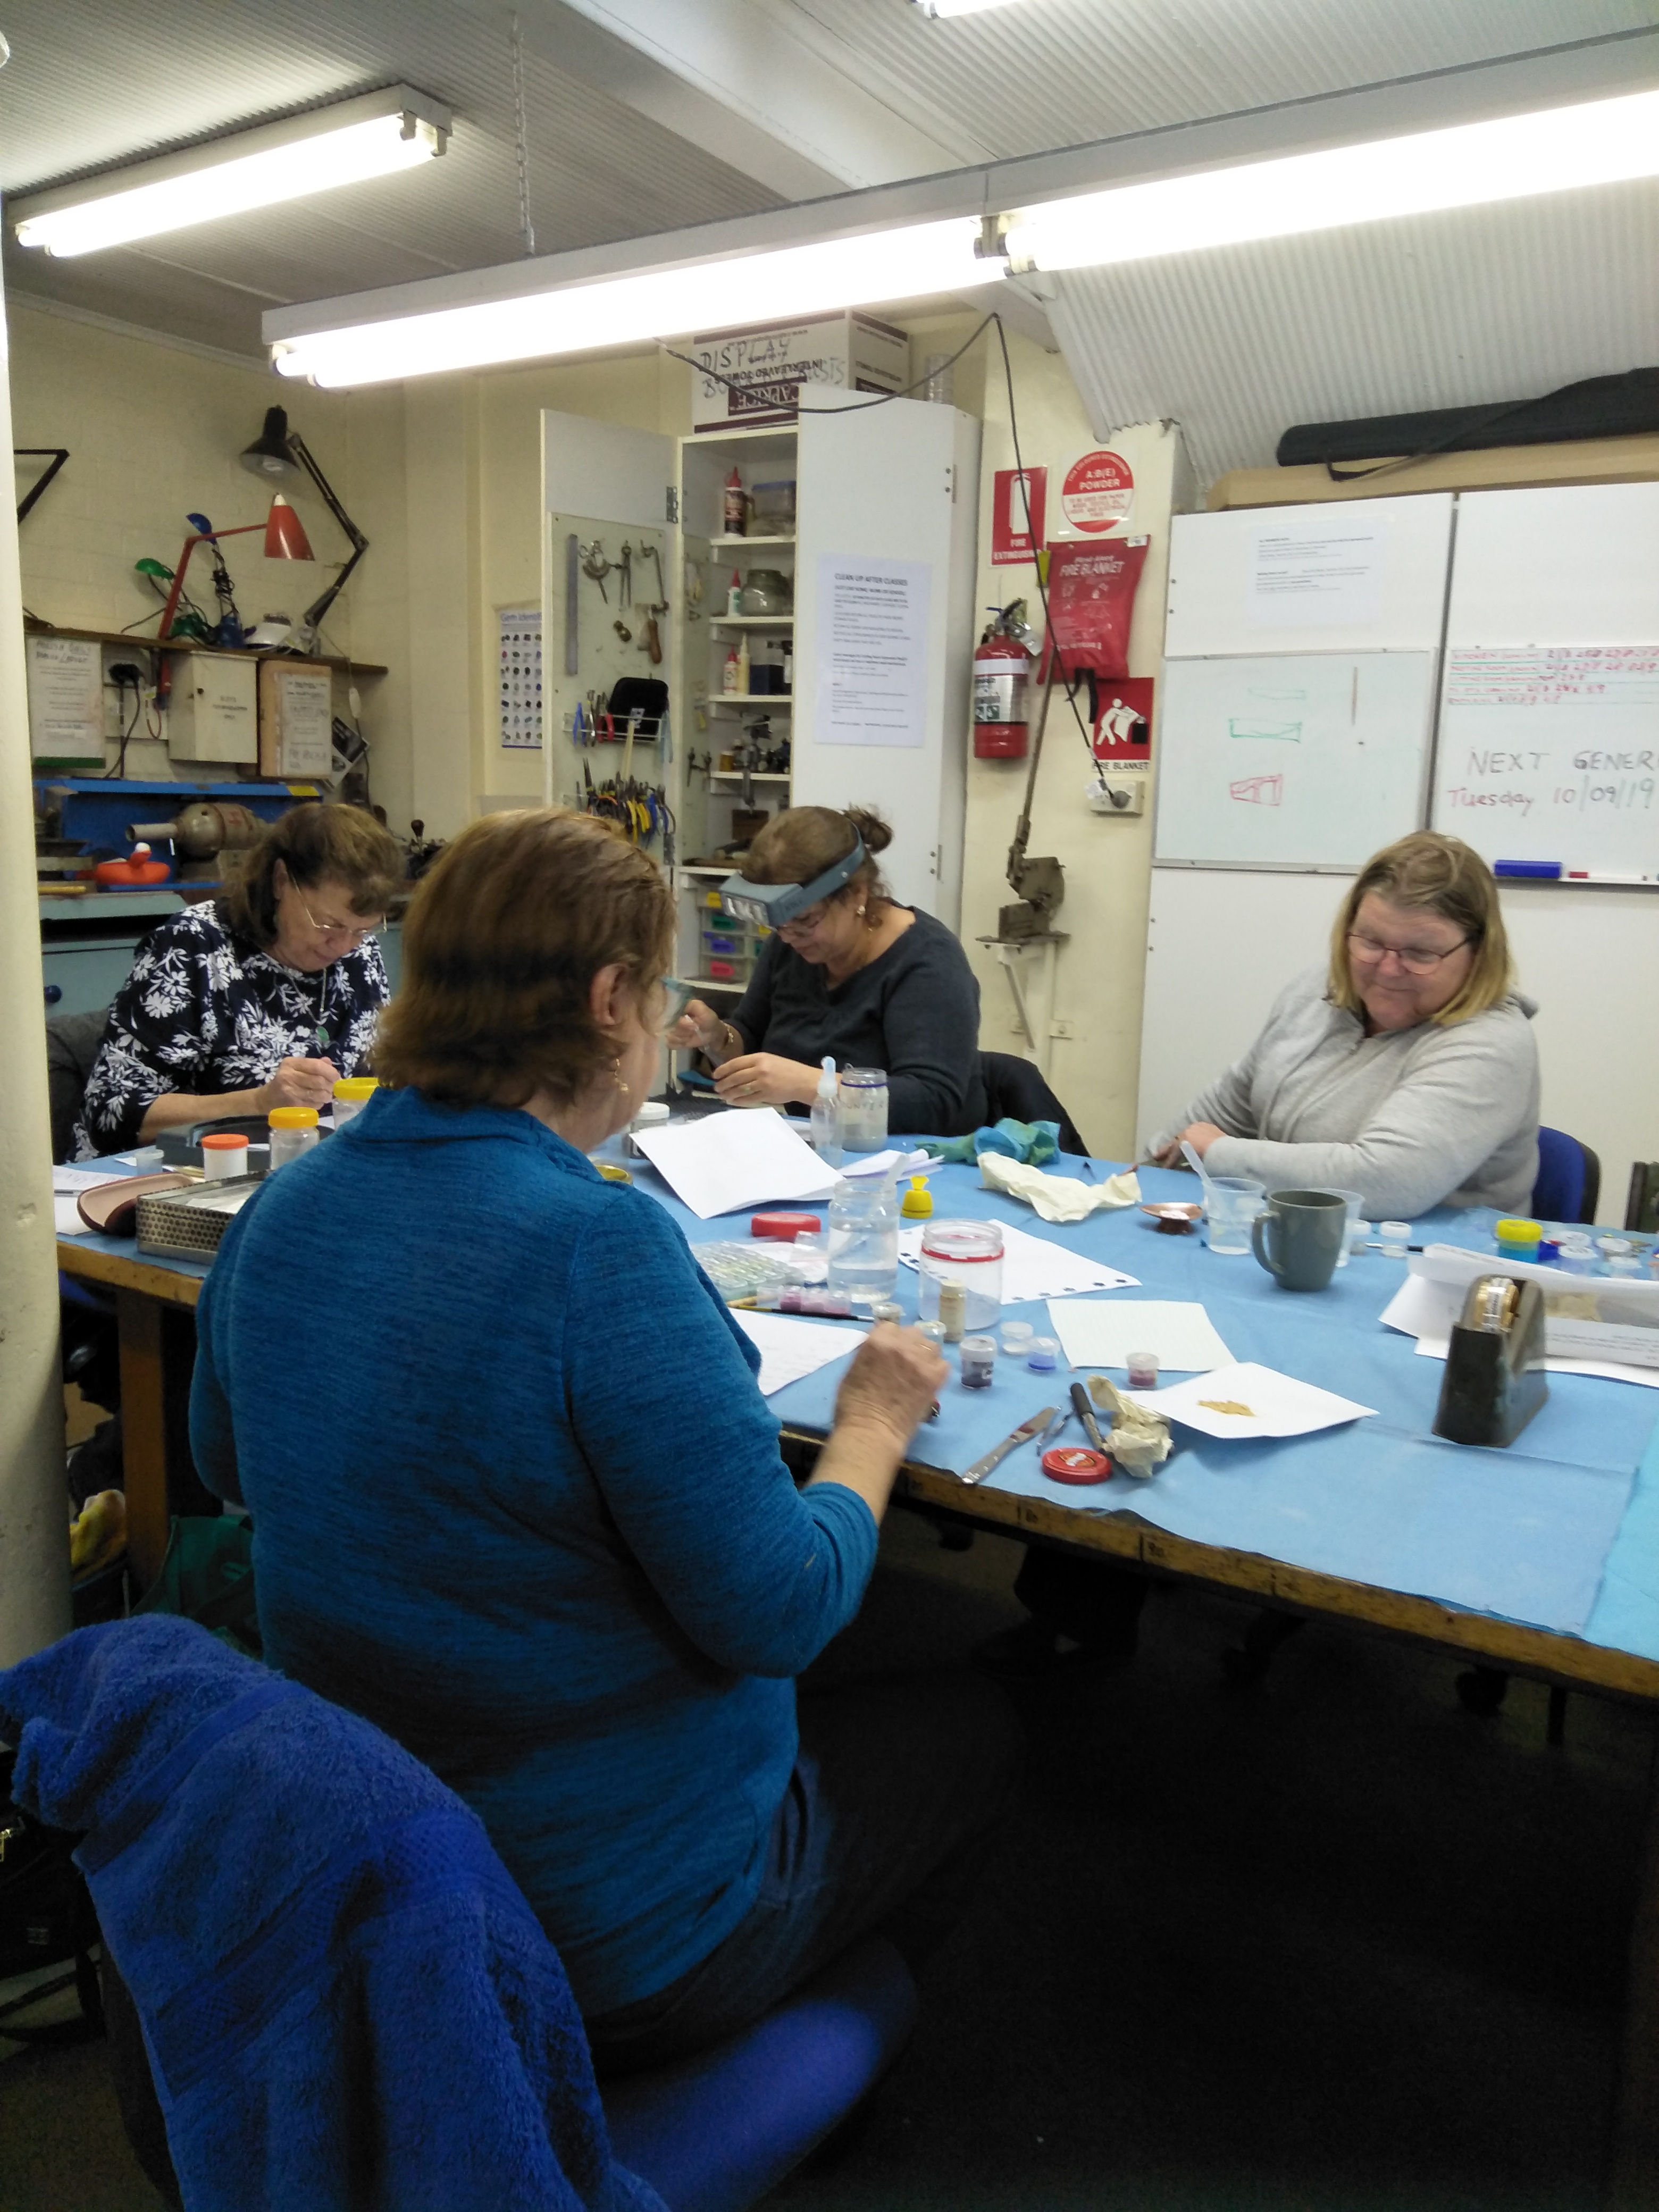
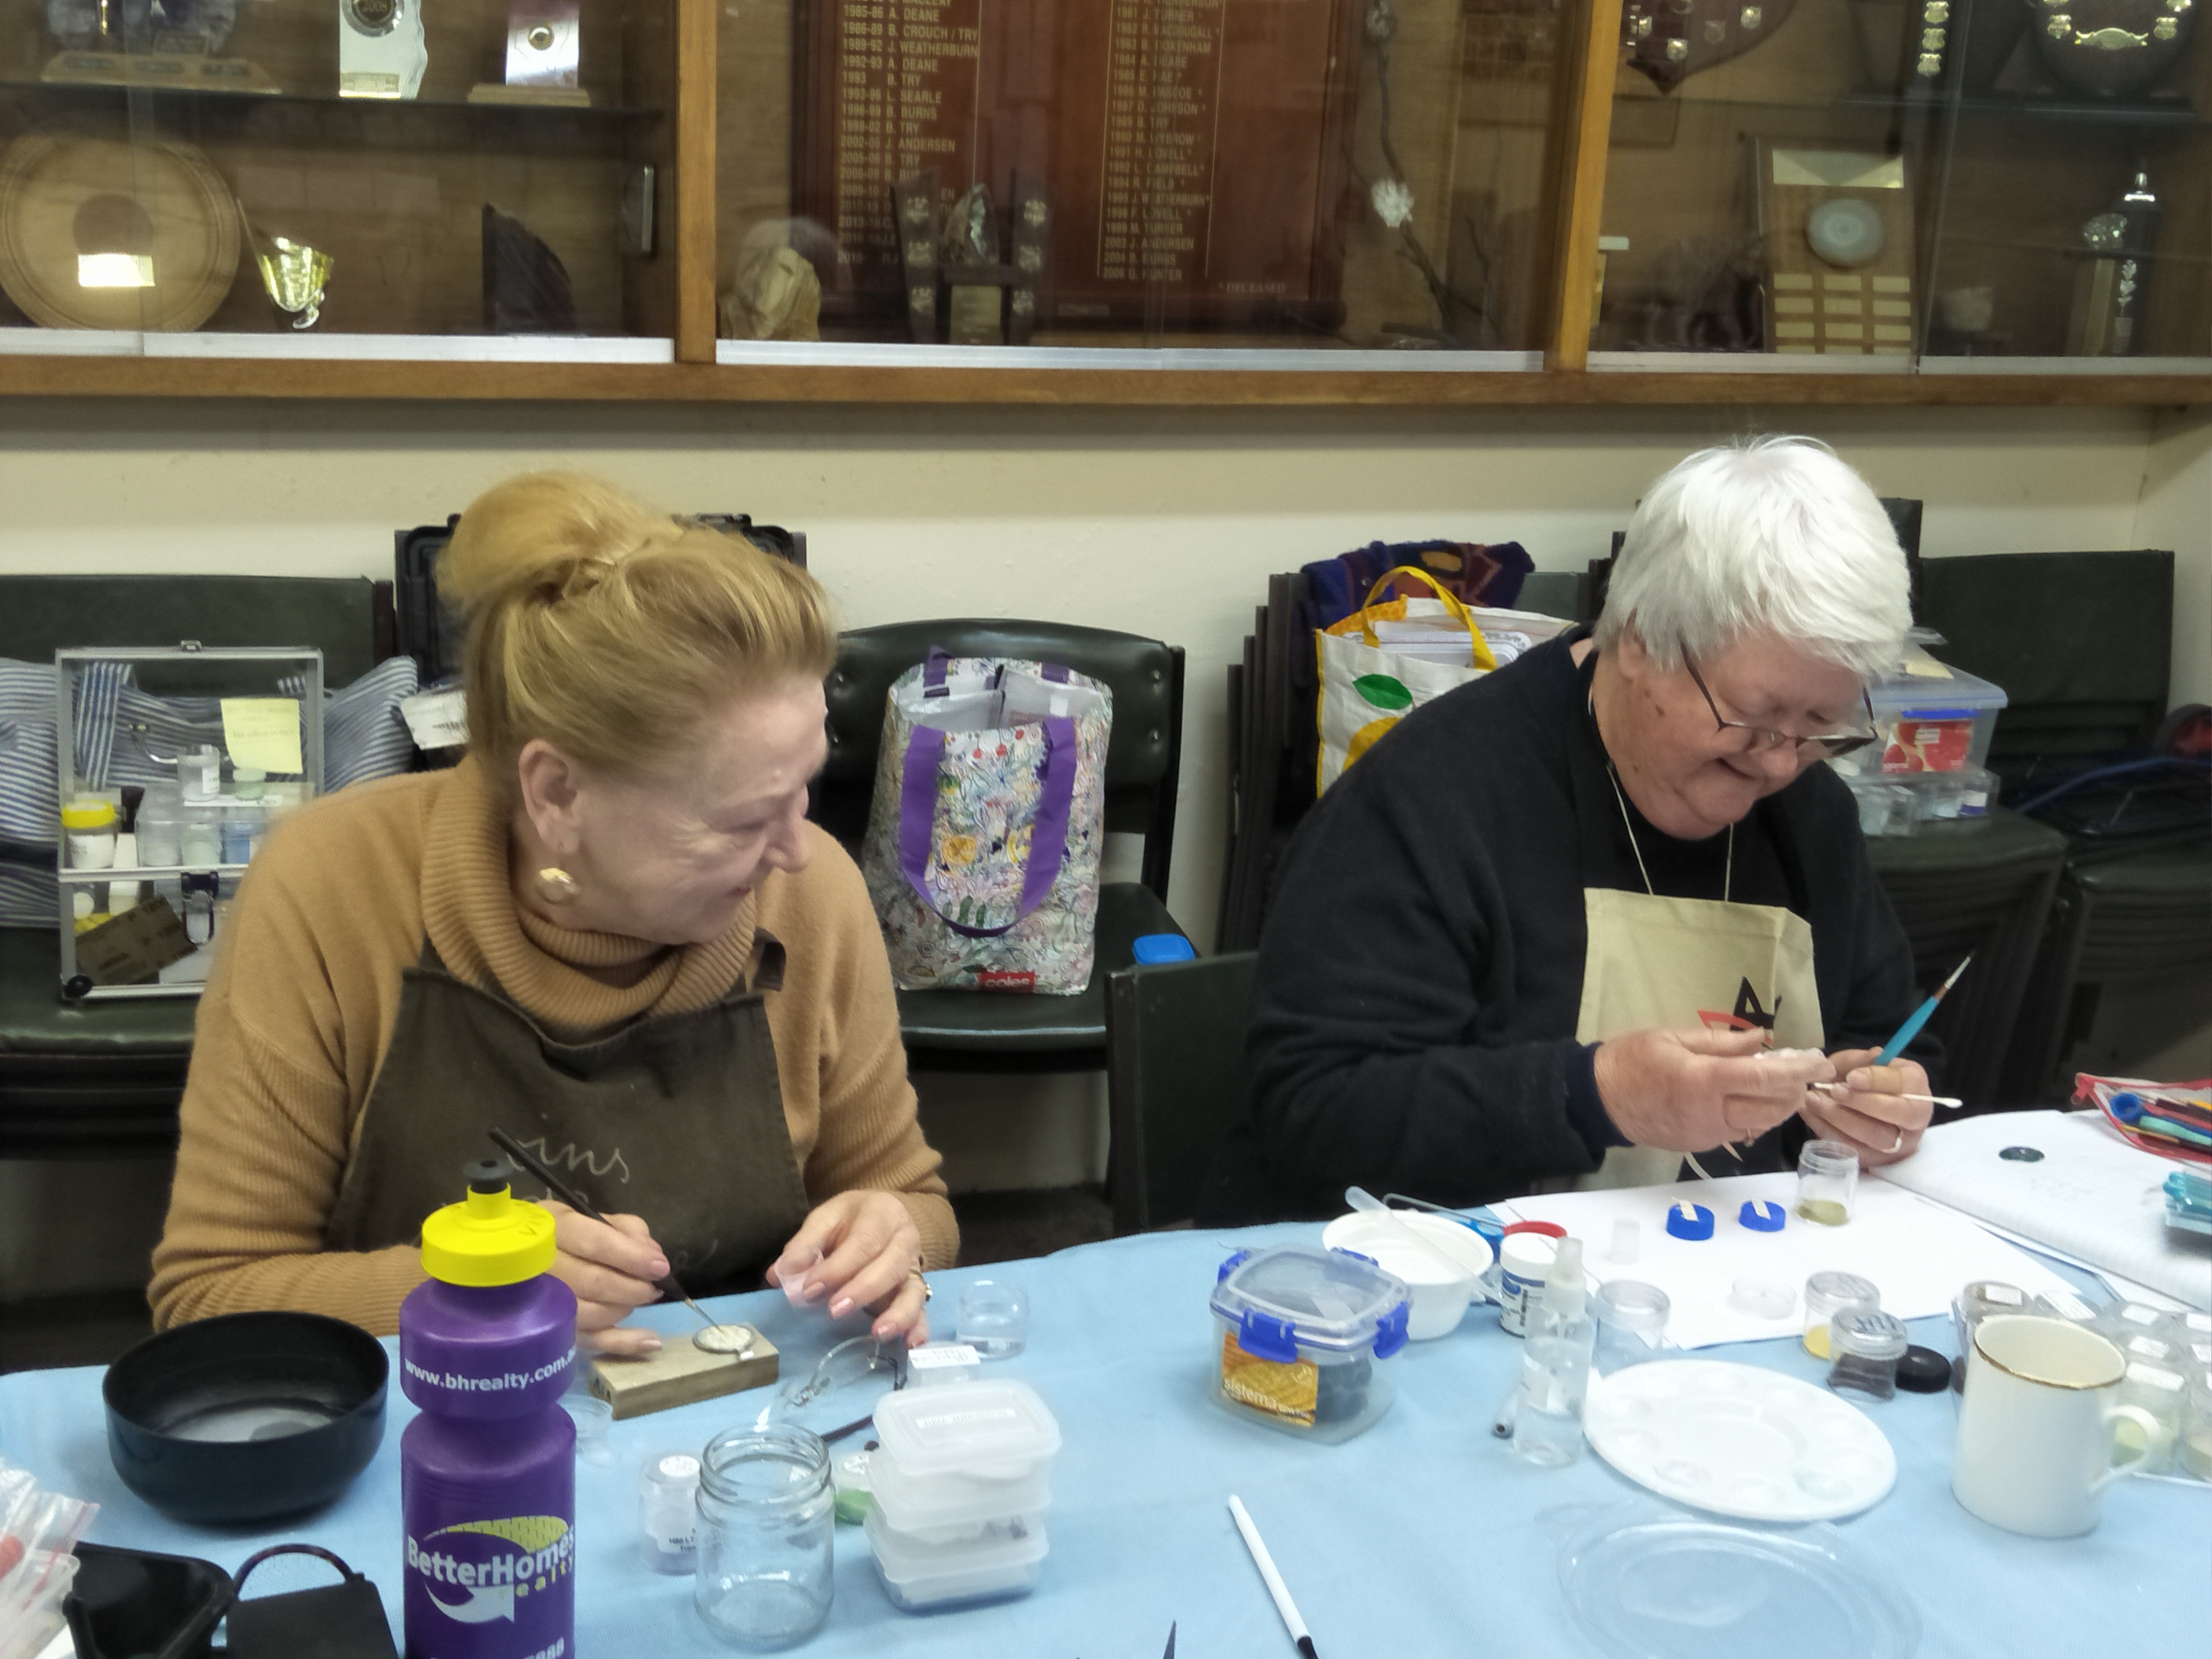
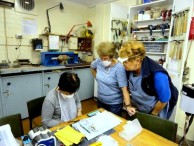
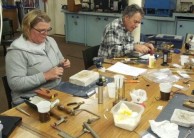
- Hard at Work
-
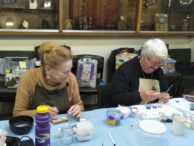
- Hard at Work
-
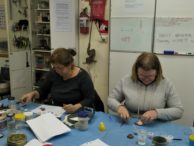
- Hard at Work
-
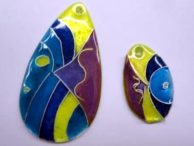
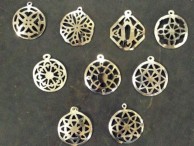
- Pendants
-
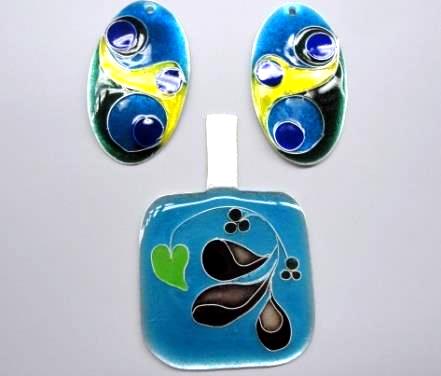
- Earrings and Pendant
-
- Pendants
-
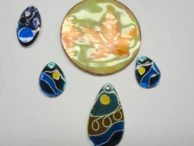
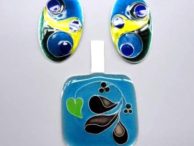
- Earrings and Pendants
-
- Earrings and Pendants
-
- Pendants
-
- Pendants
-
-


Carving Workshop
Here are some photos from a previous carving workshop.
-
- Carving process
-
- Carving process

-
- Finished items

-
- Finished items
Jewellery Making Workshop
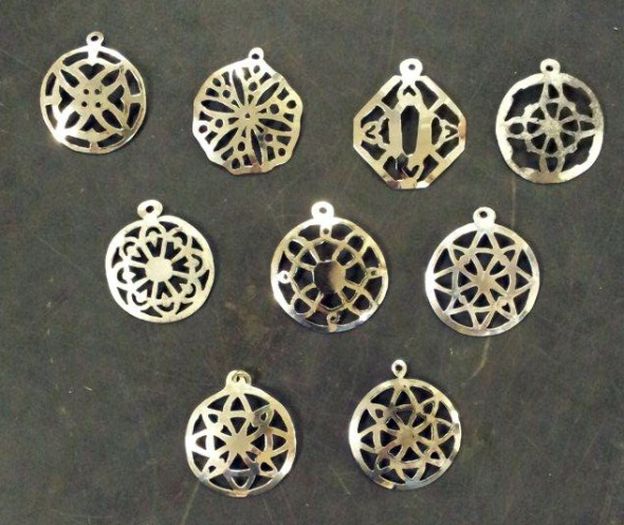
Typical projects include a piercing exercise to make a pendant and a soldering exercise to make a bracelet.
-
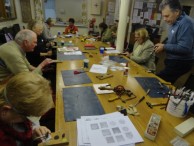
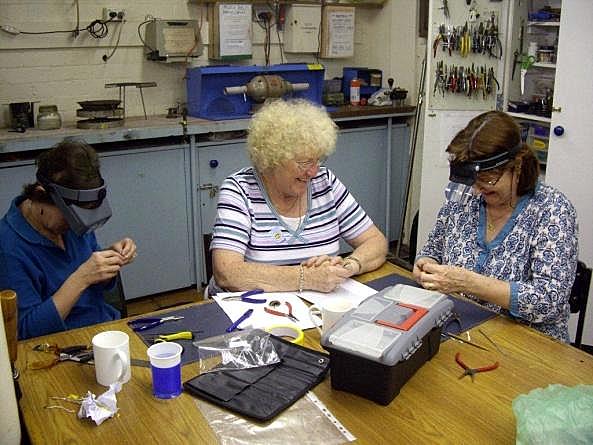
- Everyone looks very serious here but there was lots of chatting and laughing as most attractive pieces were created.

-
- Working at the Jewellery Table

-
- Some of our pieces
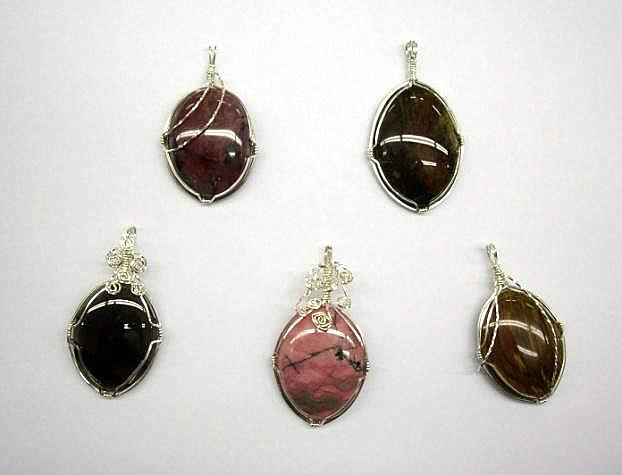
Wire Wrapping Workshop
In just a few industrious hours everyone should be able to create a wrapped or caged cabochon ready to attach to a chain or brooch mount. Stirling silver square wire is typically used as the body wires which support the stone and a half round stirling silver wire is used as the wrapping wire. The wrapping wires support and bind the square body wires.
 |
 |